Kid’s easter

2018_Ostern1

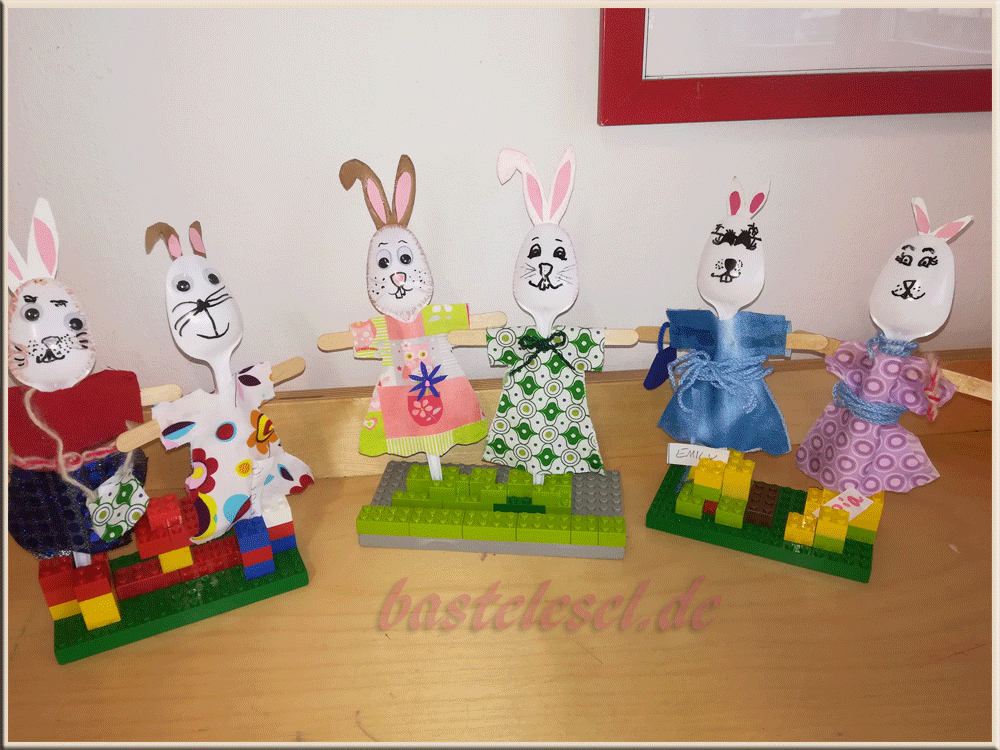
Since a long long time these white table spoons were looking at me each time I went downstairs to look for something stored in an old kitchen cupboard. This year I stumbled over some different ways to “misuse” them for decoration. I specially liked these cute rabbit girls and made some of them with the kids of our daycare group. Draw the faces with permanent markers. Some kids chose googly eyes for their version. Cut out some dresses or skirts and then start to make accessories. Ours were pouches, bows and waistbelts. One of them even cut the basic dress in halves to get a shirt and a little skirt. (see 1st one on the left) The arms are made with ice sticks but I’ve seen some made with Q-tips or straws too. Just take what you’ve got at home.

Some tinkerers among the group’s boys wanted to help the girls and constructed a stand using Lego bricks. They may as well be put in an egg cup or small flower pot filled with sand. Another funny idea is to tuck them on the edge of a little Easter basket.
 

Valentine hearts


2018_Valentin

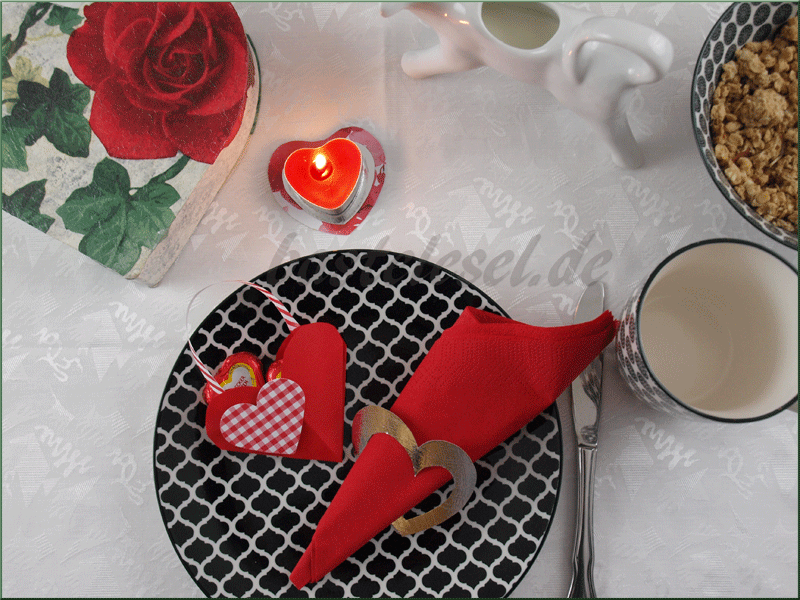
If you’re looking for a last minute Valentine’s decoration this is just the best solution. Take my free template, print it and transfer it to the selected paper or card stock. The treat bag is a folded heart. We had origami paper mesuring 16 x 16cm. Fold it in half from both sides and open folds again. Then fold diagonally from both sides and reopen these folds too. Now fold paper in half again so that the long open sides are on the top. Fold the lower right and left corner inside to get a triangle standing on its tip. (Follow step 1-4 here and then turn your triangle.) Now put the heart template on top and cut out the upper part. Glue the right and left inner part of your heart bag and insert a paper stripe as a handle. Put some chocolate or a nice whish inside and here you are with a lovely Valentine’s decoration.


55 years Franco-German friendship treaty

P1255387

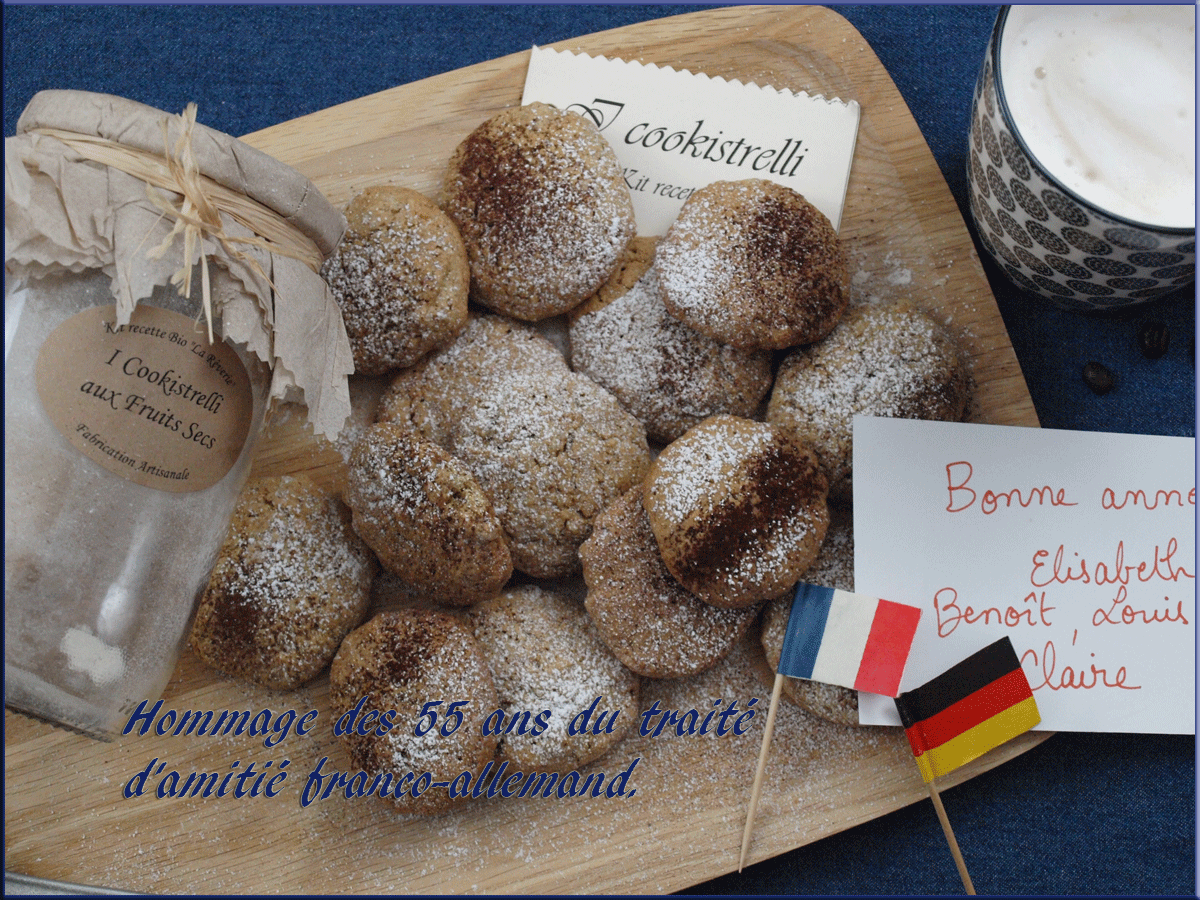
Cookie Mix in a jar: sent by our penfriend who’s actually living and working in Corsica.


Vases

2018_Lackvasen1

Sometimes it’s a pure coincidence when you’re looking for a new idea to be realized for your blog. Watching tv on a friday morning I heard of a nice idea to embellish simple jars into lovely vases. Florist Michael Frings did it with acrylic paint but I didn’t have any leftovers available. Instead I found lots of half emptied nail varnish flasks in my bathroom cabinet. Why shouldn’t I take these to color some jars.

2018_Lackvasen4

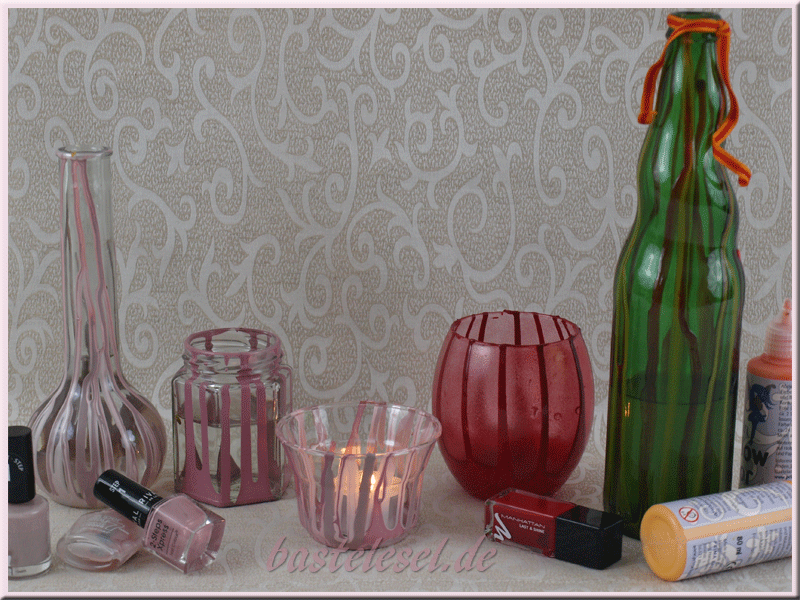
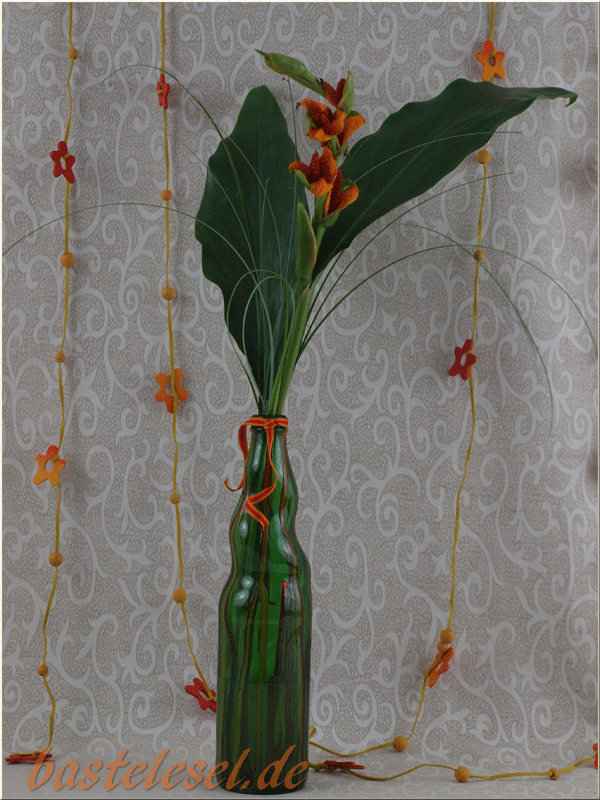
The foto shows that you may use all kinds of jars, glasses or bottles to decorate them with nail varnish. The advances: you may collect cheap jars and will use all your vanish leftovers. On this occasion I took the chance to work with some window colors too. The red water glass was colored with them long time ago but still looking good. The dark red nail vanish adheres to this window color surface as well as on that of the glass itself. The green bottle is decorated with orange and yellow window color. Here it’s a great advantage that the colors are looking more restrained and that you can take them off lateron. Therefore you simply have to put the bottle in warm water for some minutes and then peel off the color stripes.

2018_Lackvasen5

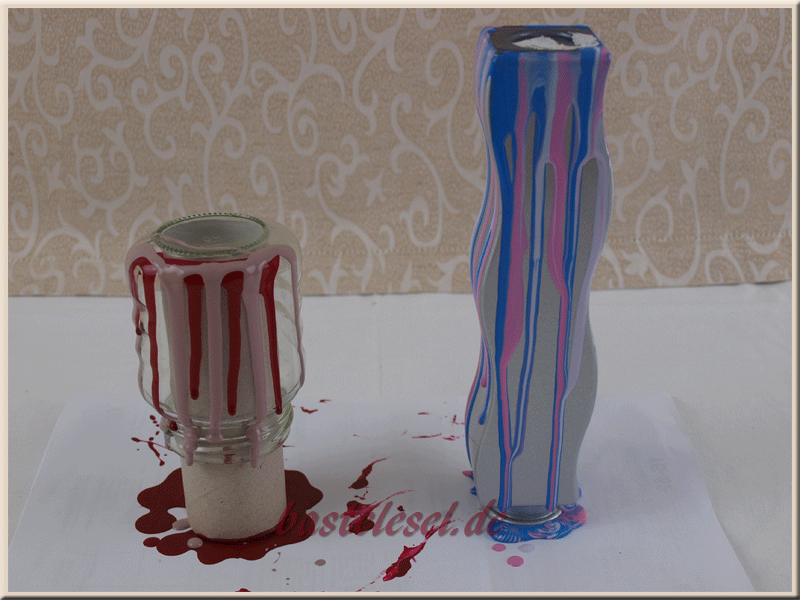
Put the jars with wide opening on top of a paper roll. Thus the vanish may drop on a paper mat without the jar standing in it. Put your bottles with their bottleneck on a double layered paper. Start pouring vanish from your flask round the  bottom edge so that small or large stripes are running down. The quantity of vanish decides the distance between the stripes. When vanish or window color are dry you may cut off the paint drips or the sticking paper with a cutter.

2018_Lackvasen3

If you don’t get it off completely just hide it with a small ribbon matching either with your bottle or with your window colors. Thanks to the use of leftovers you may produce matching vases in nearly every color. If you don’t need them any more just bring them to the bottle bank.

2018_Lackvasen2

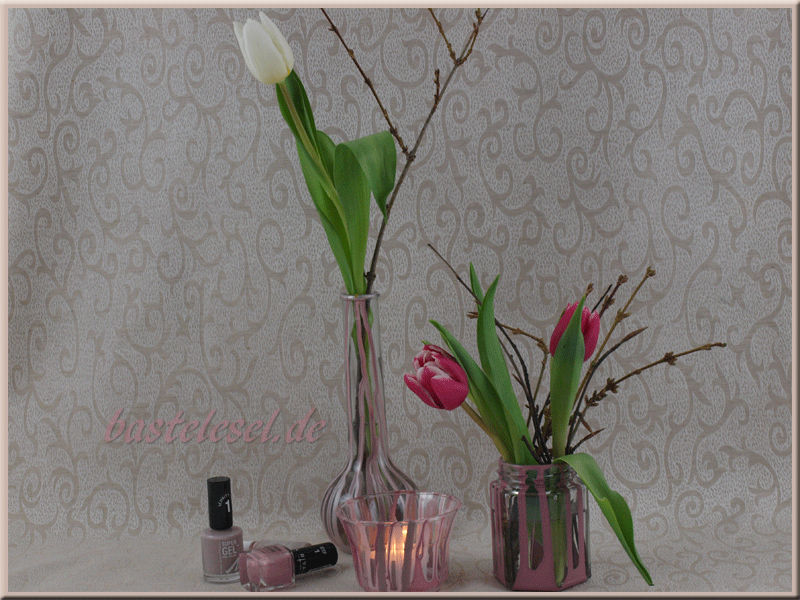
For my nail varnish I prefer light colors when going to work. That’s why my vases are mostly colored in dusky pink, beige and stone grey. Secondary effect – they match very well with the cream- and mocha-colored living room. In addition I colored a tiny tealight holder with varnish stripes. It fits perfectly with the vases and will make a lovely center piece.

So, just get on with your varnish leftovers, clean the jars, prepare a mat and then start pouring. For a special occasion or a certain color that’s not part of your usual color scheme you may even buy some new nail varnish. That’ll probably still be cheaper than buying vases or tealight holders and in addition you’ll create very individual objects.


Wishes

2017_Christmas2