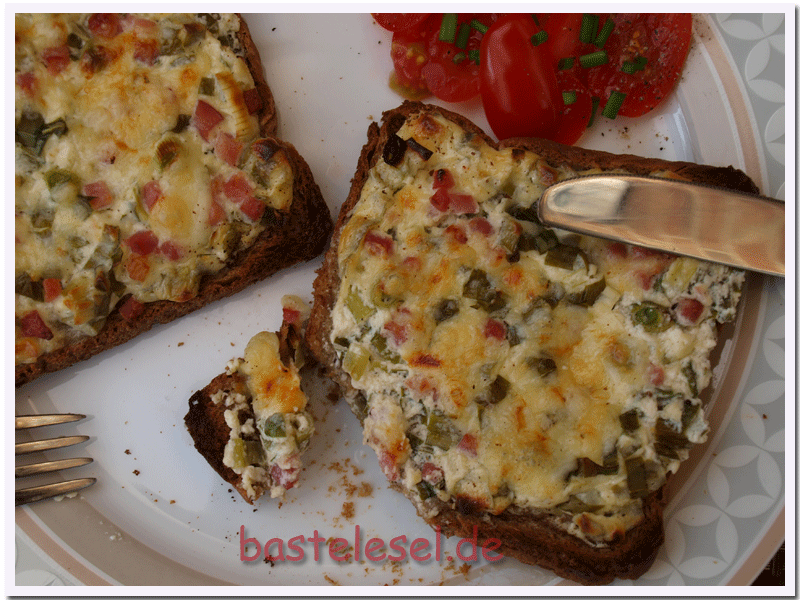
Toast Tarte Flambée

2016_Toast

I really can’t resist them – those fresh, verdant wild garlic leaves in the back of our garden. Unfortunately work, gardening and many other activities don’t leave enough time for cooking. That’s why every now and then I’m trying new recipes promising low effort but a lot of taste. My toast Tarte Flambée Alsatien definitely belongs into this category.

You’ll need the following ingredients for 2 servings:

4 slices of sandwich toast ( I personally prefer whole grain)
1/2 cup of crème fraîche
3-4 tbsp milk
3-4 scallions
6-8 leaves of wild garlic
50g smoked ham, chopped
pepper, salt and some rasped cheese

Thoroughly clean scallions and garlic leaves. Cut scallions and chop garlic leaves. Mix crème fraîche with milk and add chopped ham, scallion rings and chopped garlic. Season with pepper and salt. If you like it really crisp you should lightly toast your slices before applying the wild garlic cream. Put them in the preheated oven (180-200°C) and gratinate for 15 minutes.
Serve them with a fresh tomato salad and a light, dry white wine.


Hearts everywhere

2016_Heart1

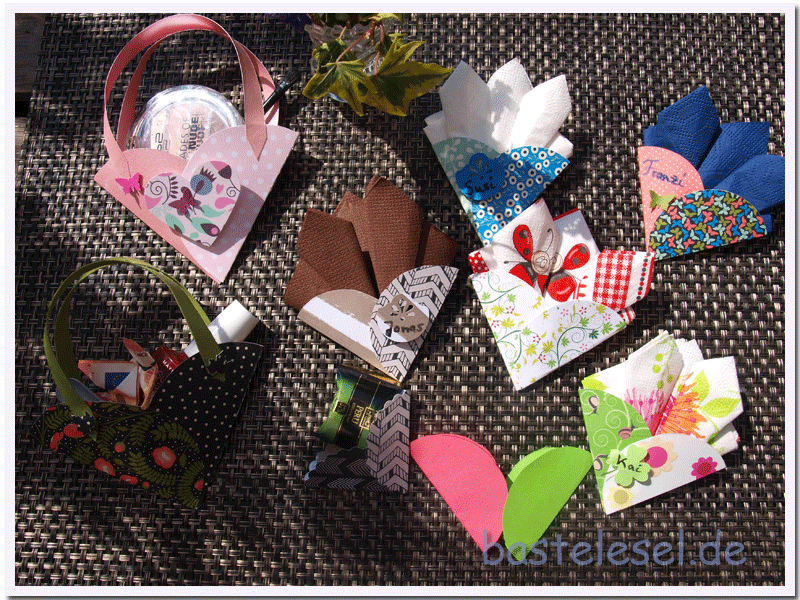
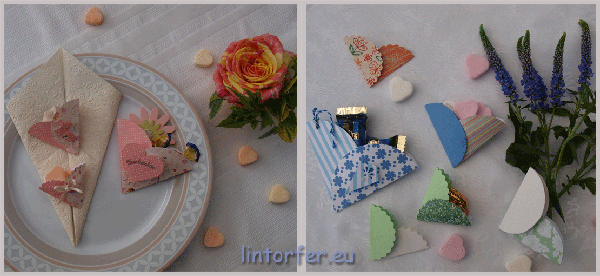
All hearts and really all of them are made with two equal paper circles. To cut them out I used all sorts of things I found in the kitchen: a cup, a jar, a little round box and a round punch with curly edge. On the lower right side of the picture you can see how both circles are folded in halves and then combined. Just fix both sides with some glue.  For the paper you may take whatever you’ll find. I used a lot of leftovers to create some samples in different sizes and design mixes. The picture below shows some more sophisticated hearts that are made with paper matching the color of dishes, flowers and napkins. Decorate your hearts with further accessories and they’ll be perfect for a first communion, for a birthday dinner, as a place card or as a wrapping for a little guest goodie.

2016_Kommunion

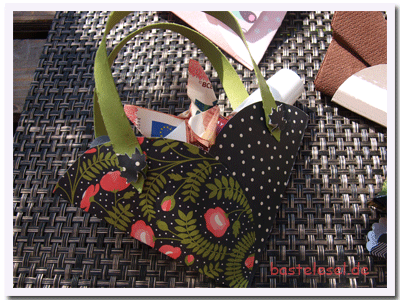
The smaller hearts are cut with a diameter of 4,6 and 9 cm. If you take the 6cm size you may even put small paper napkins inside. Normal sized napkins will need a bigger heart. For the lovely heart bags cut out 11cm circles and add two sripes of 1x15cm of cardstock to make handles. With Mother’s Day approaching I filled the little bags with small things every Mum will be fond of. A bag with one of these fillings will be very nice for your best friend or any other people you want to delight. 2016_Heart2If you plan to take the heart bag for a money gift then just fold a butterfly with the inserted banknote (already folded as a square) and fix it to the heart’s top bow with a small glue dot. Find the link for a folding instruction in one of my former posts. A voucher for will fit as well. And well, even if you don’t see any occasion to ue them right now just make a sample and keep it in mind. Spontaneously there’s lots of occasions to use them: place cards, a little hello, to say thank you, a goodie for participants of a workshop, sample for an unplanned crafting with friends, little gift tag etc….


Sun bath

2016_Biene

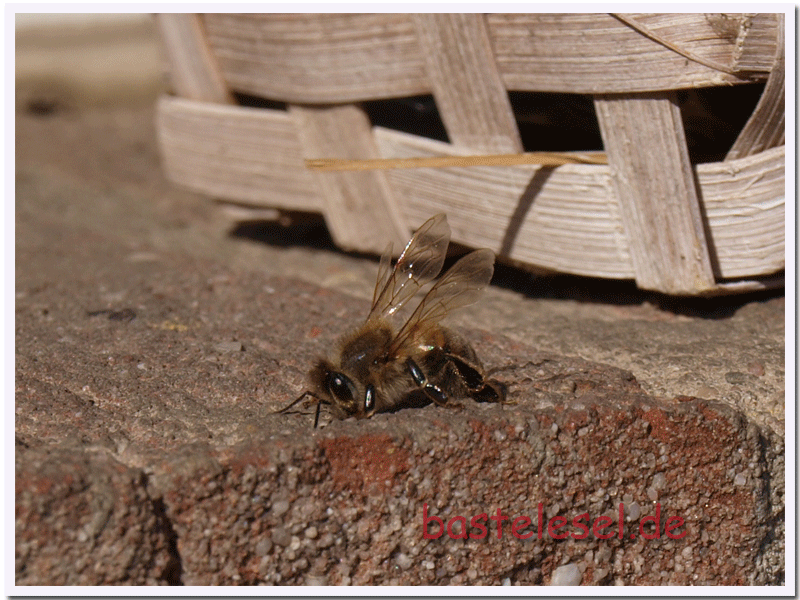
The first really warm sunlight makes us happy – but not only us. Today, round ten o’clock, one of the usually busy beens sat down on my window sill just beside the front door. Most of the time it’s a really drafty place but this morning the sunbeam warmed it up and a little basket filled with flowers offered some additional protection. My little bee sat there spread- eagled even stretching its wings for an ample sun bath. I’d have liked to follow suit but unfortunately had to attend to my duties.


Scratch’n travel

2016_Map

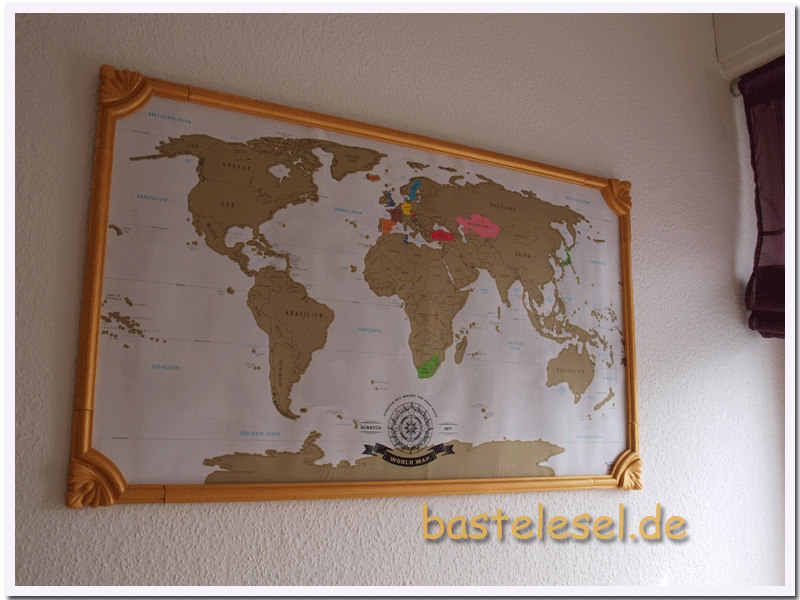
It’s examination period, at least in Germany, and thereafter a lot of students leave their home to live and study abroad. Some of them will even travel around the world for some time. So it would be nice to record where you’ve been without requiring electronical aid. There are several online shops offering these scratch maps. Unfortunately you can’t put them in a picture frame if you wish to continue scratching further destinations lateron. Pinning them to the wall with traditional push pins mostly creates ugly holes and makes the map flute. The back of a broken frame gave an ideal base for a fancy presentation of the map.
We adjusted the backside to the size of our map overlapping it 2cm on each of the four sides. We took off the frames cramping fixtures and removed the hanger to the new center of the top edge. Then we colored the front of our board with white spray paint to prevent the brownish color to shine through the map. We found some nice Polystrene coving cornice kits online. For gluing and painting it you need to take solvent-free color and glue because otherwise the Polystrene will dissolve later. We found both in our local crafting store. We decided to create a golden frame and applied the solvent-free color with a little sponge in two layers.
Take double sided adhesive tape to fix the map on the board because the map’s paper will absorb liquid glue and start to undolate. After fixing the map start to fit the cornice and mark the vertices of each corner with a pencil. Put aside the cornice, apply glue to the overlapping rim and glue all parts starting with the corner pieces.
After drying you may hang up your map and remind you of the already reached locations or dream of new destinations.

  • Show All
  • Ziel-Kratzen/Scratch'n travel/Gratte-but

Easy peasy pouch box

2016_Giftbox

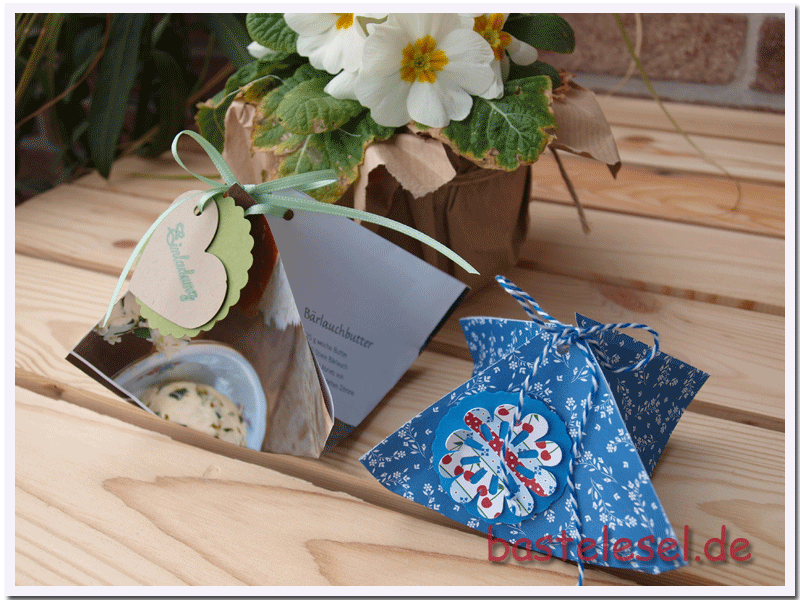
For whatever occasion you want to take this little gift wrapping you will always want to use it again because it’s that easy to make it. Use construction paper or even the pages of a magazine if you don’t have anything else available. The papers only need to be squared. For a barbecue invitation I simply detached a page with a bear’s garlic recipe and folded it. Inside there’s a rolled invitation and a small portion of salted butter. Paper squares of 9 – 10cm length are perfect for wrapping a single chocolate praline and could be taken as guests’ goodie. Add some nice ribbons, tags, paper flowers etc. to decorate the pouch box.
There’s a perfect video instruction to be found at www.Pootles.co.uk but you may as well follow my instructions below each picture of the following galery.

  • Show All
  • Fixe Geschenkverpackung/Easy peasy pouch box/Petit sac cadeau