Multiple-use crates

2016_Kisten1

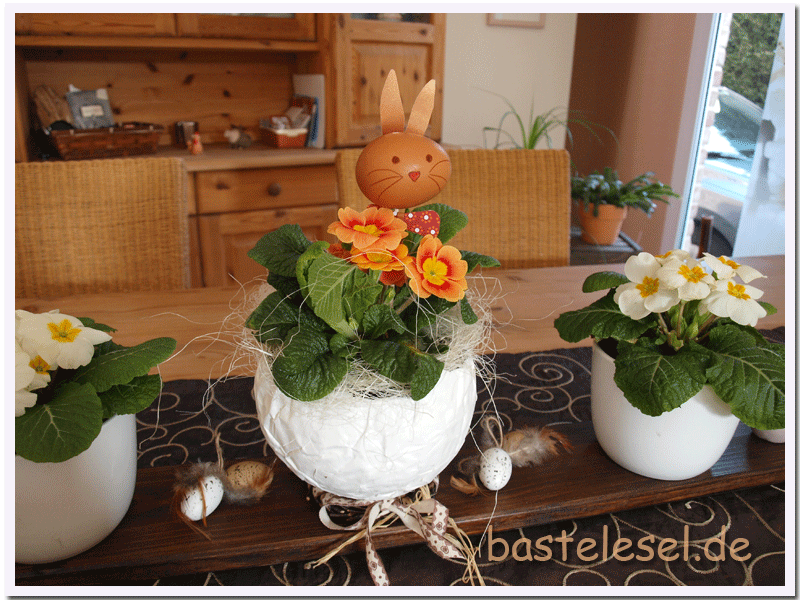
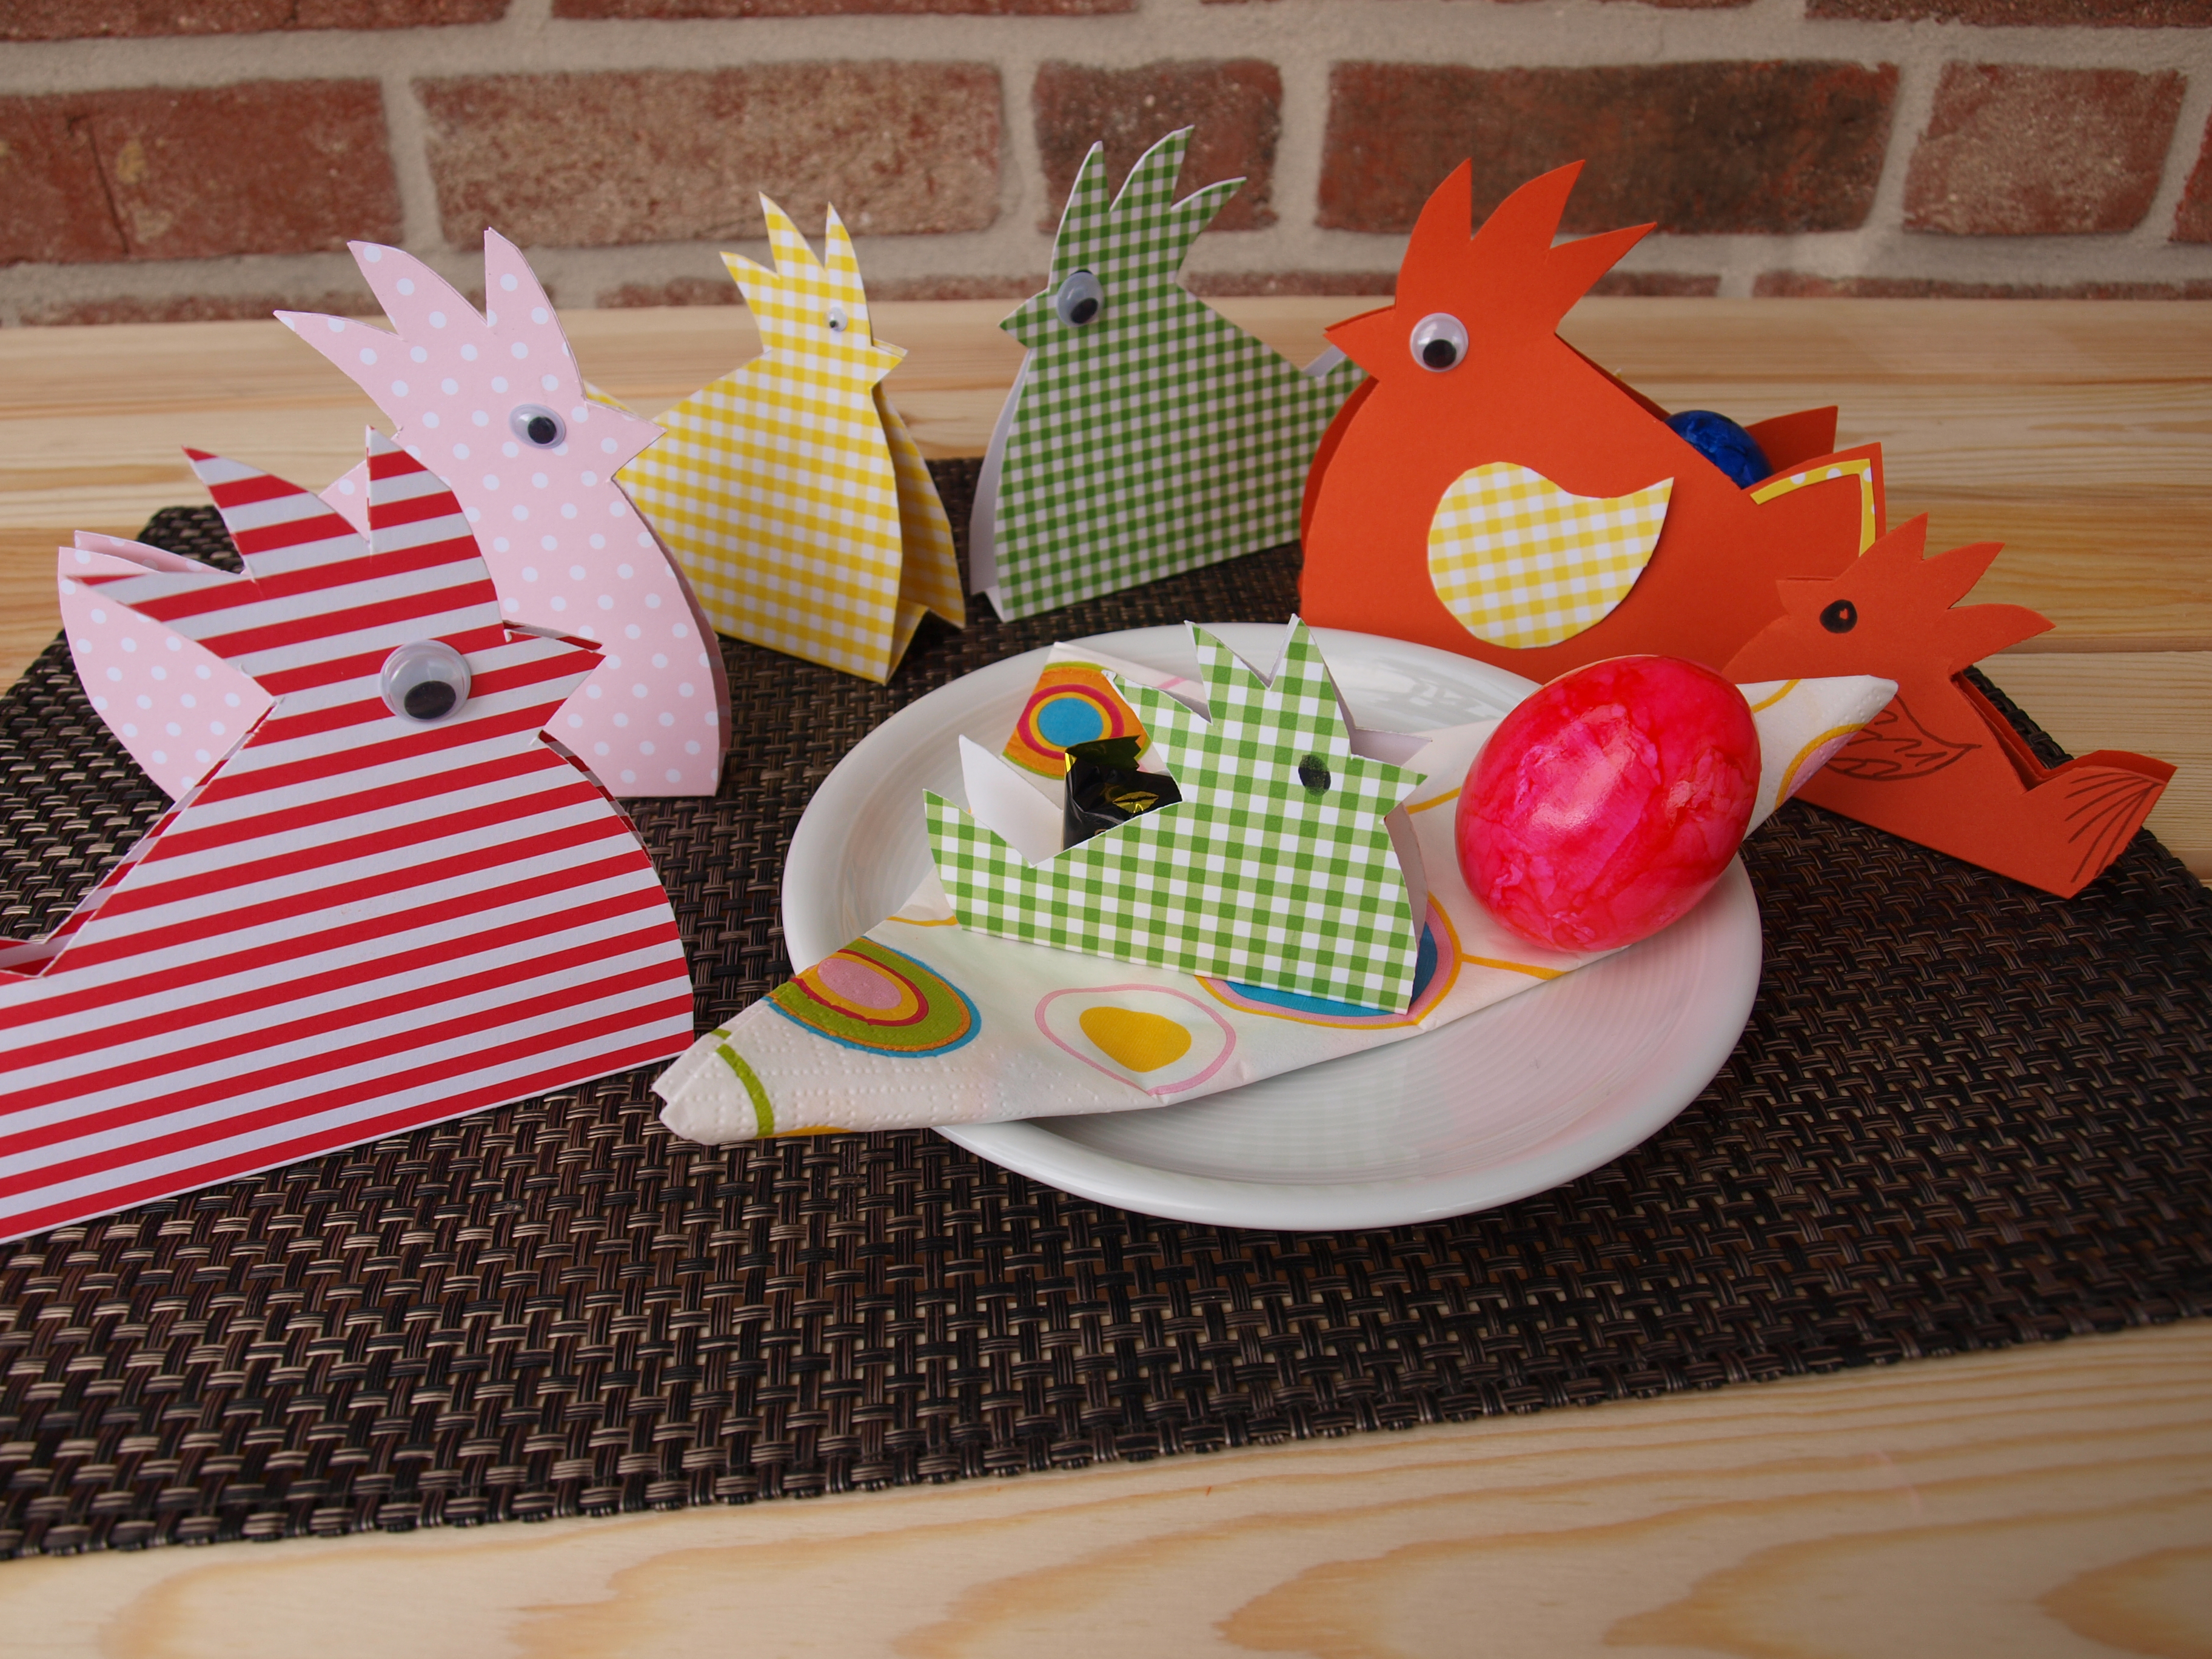
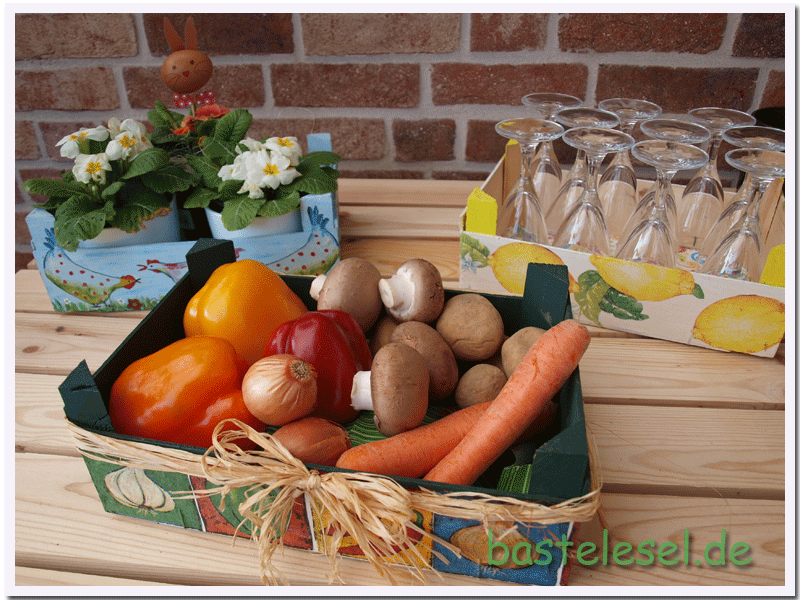
Winter’s coming to an end and the quantity of tangerines and oranges offered are receding. The pile of tangerine crates however increased tremendously. They’re too nice to destroy them and I like to use them in many different ways. But there’s one thing they do have in common2016_Kisten2
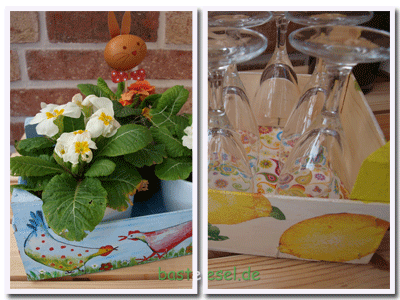
: they’ll receive a coat of paint and will be decorated with some nice paper napkins. Cheeky chicken are pecking on the flower box edges, acid lemons decorate the party glass container and the napkin with vegetable print is a perfect design for my food container. During barbecue season it’s often used as a container for all my BBQ-sauces. Thus it’s quite easy to hand them from one table to the other. If you’re planning a really big party these crates are perfect for your cutlery. Even wrapped in paper napkins forks and knifes will fit.

2016_Kisten3

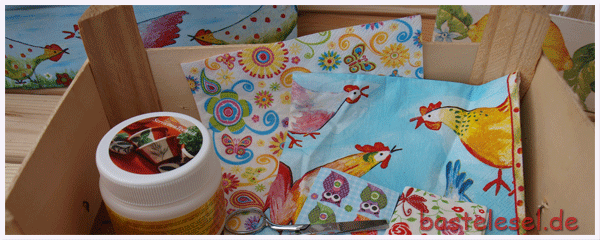
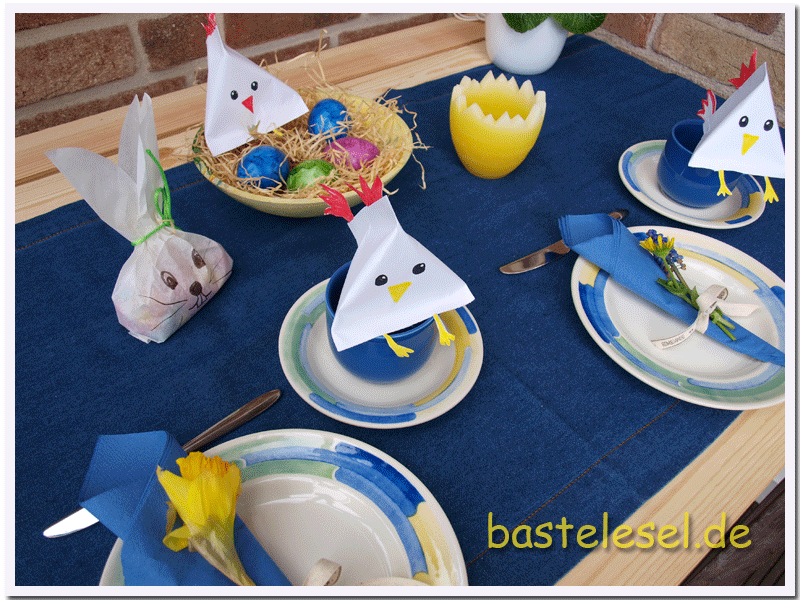
When all tangerines were consumed I just had to take off the labels and paint the box in one color. It’s quite easy if you take the base color of the paper napkin you chose to cut out. This way it will be quite easy lateron to apply the napkin pieces. The surface needs to be sanded after the color dried. Then the selected napkin parts are to be cut out carefully. You’ll only need the very thin, upper layer of the napkins. Apply some decoupage glue on your crate, place the napkin parts and disperse some further glue with a soft paintbrush. Do this by coating each motif from its center to the borderlines. If there’s still any imperfections left simply apply some further paint. The decoupage glue works as lacquer too so that the crates may be used right now. Regarding the actual weather it seems that my chicken decorated box has elicited sunshine. During the next months it will stay on our terrace to receive all sorts of flowers.


Easter center piece

2016_Tisch1

There’s only some days left until Easter and it would be nice to have an Easter center piece already now. Before tulips and duffodils will inhabit flower pots and paper maché egg we just put some primroses on our table. It takes a bit of time to make such a paper maché egg but it’s worth it because mine already dates back to last year. In order to prevent it from toppling over I just put a small wreath of birch twigs beneath it. Add some little Easter bunnies and Easter eggs and place it on a rustic wooden board. The whole will even have a more natural look if you wrap the flowerpots in some kraft paper, torn apart and fixed with some twine.

2016_Tisch2

The Easter bunny’s a hen’s egg emptied through holes that are placed on its sides. That’s a bit more difficult and if you want to avoid it to burst you should extract its contents with a plastic syringe. Then insert a thin wooden skewer and glue ears and bow tie.


One sheet- chicken

2016_Kueken

Last year I made these little chicken with fabric. If you belong to those not knowing how to sew you nevertheless don’t have to do without them. Supposed you’re disposing of some DIN A4 paper, scissors, glue and some colored pencils or felt tip pens. One sheet of paper will make two little chicken. Therefore divide the sheet in thirds on its long side. Fold it and smooth well enabling you to tear the thirds apart. Thus the look of the paper edges will come closer to the look of the chicken’s feathers. The free template shows that two thirds will make chicken and the last one is used for legs, crown and tail. You may use the template directly and cut out the different pieces. You should then color crown and tail on the back side of the paper. You may as well take some new papers, divide them and draw chicken parts. The chicken’s body can be decorated with dots, stripes or other designs before glueing it. 2016_Kueken2Close the small sides of the chicken’s bodies to form a roll. Then glue one open side of the roll enclosing both legs. Pay attention to have the chicken’s faces centrally arranged over the their legs. They’re now ready to be filled with small chocolate eggs or other sweets. Glue second open side crosswise then and enclose crown and tail. Note the guests’ names on both sides of your chicken if you want to use them as place cards.


Back again!

Desktop

It’s back, my laptop. Repaired without any additional costs but unfortunately delivered in  factory default. That means I have to install again all personal actions, dates, pictures etc..
And by the way I’d like to take the chance after this total crash to reorganize some things to get them more clear and effective. A new crafting post is in process and with a bit of luck I’ll be able to publish it tomorrow.


Preparing Easter

I found these hens in a Topp book with lots of folding ideas. The large one’s having a middle pleat big enough to hold a boiled egg. For the smaller one I changed the template by hand. It’s just big enough to hold a chocolate Easter egg. Depending on the available card stock paper you may decorate or paint your hens.
You’ll need a card stock piece mesuing 12×28 cm for the large hen. Fold the card stock in half and then fold both parts down 3cm above the center fold. Thus you’ll get a small roof fold in between the two layers of card stock. Draw hen template on folded card stock and cut out. Glue front and back of your hen with some glue dots on crown and beak.
In order to reduce my stock of paper leftovers I cut out some smaller hens having a fold of 1cm only on both sides of the center fold. These hens are meant for table decoration and won’t be able to hold an egg. For Easter I’ll take them as a center piece and will sit them in some Easter grass. Wrapped in foil with some chocolate eggs and maybe assembled with a bank note they’ll make a lovely gift for Easter.