More bows

Schleife5

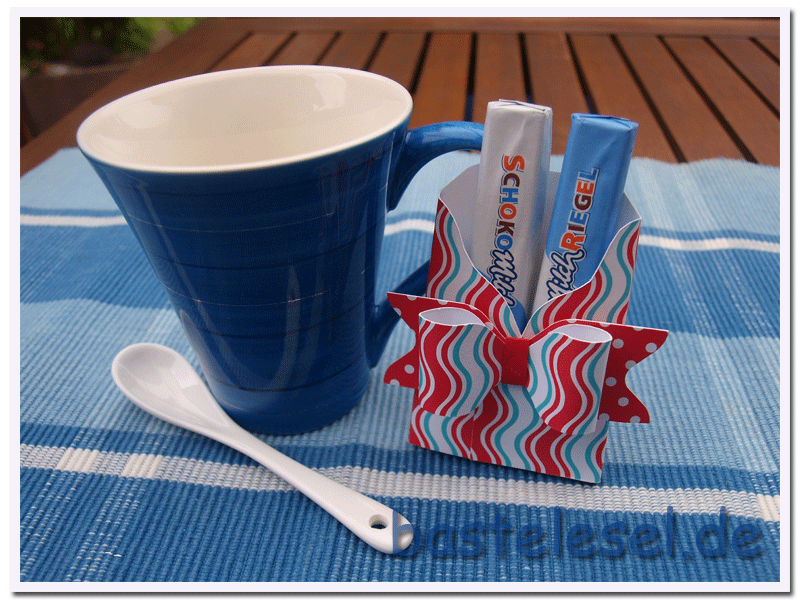
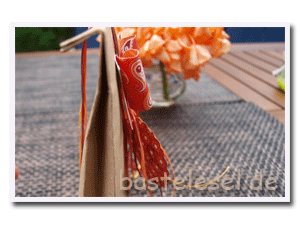
Today you’ll see my little box filled with chocolate – a nice alternative for missing cookies when getting unexpected visitors for a cup of tea or coffee. Just prepare some bows and boxes in advance to assemble and use them lateron. For the box you need 15×15 cm cardstock which needs to be scored at 4/4.5/10.5 and 11cm. Then make a quarterturn to the left and score at 8.5 and 9cm. Cout out the small outer areas – see PDF-format, lower part. Then outline the edges of the bigger areas as you like. Turn up the center part and close the side parts on top of it with a drop of glue. In the end attach your prepared bow and fill.

Schleife6aSchleife8a

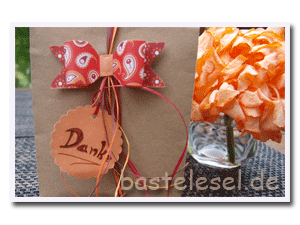
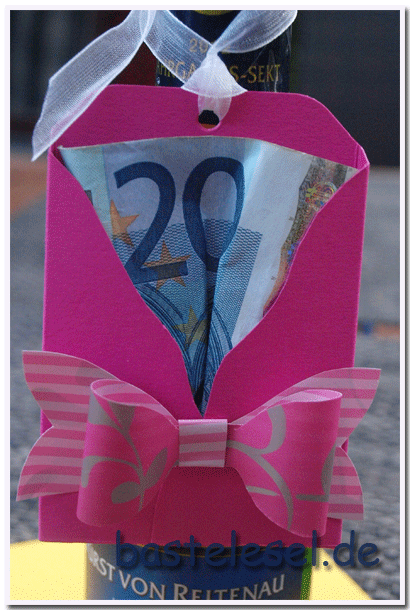
One of the bigger bows just decorates a simple paper bag. It’s the color combination of bag bow and ribbon that makes the difference. With a nice badge you’ll have a gift to say thank you, for a birthday or a voucher.


Bow

Schleife1

Paper bows simply embellish every wrapping. They can be made with quite expensive punches but I prefer the economical method of cutting them myself with a template. It’s easily done with paper but they’re looking quite nice with card stock too. Then you should stretch the upper part over a scissor blade.

Schleife2

Transfer the selected bow parts to your pape and cut them out. If you need a bigger bow just scale up the template with a copier.

Schleife3

For the upper bow just revert both sides to the back and glue the outer nose-pieces to the middle. Then glue your bow to the white base. (Unfortunately the picture’s a bit cloudy but the bow was already glued when I noticed it.)

Schleife4

Now twist the black stripe round the middle of your bow and glue it to the back.
My bow’s decorating a little box resembling a shirt that’s filled with a bank note. Attached to a small bottle of sparkling wine or some chocolate it’s a lovely birthday gift.
Further suggestions for thee use of such bows and a template for my box will follow.

Little sailing boats

Maritim7

Ship ahoy! Prepare your driftwood or small branches drilling little holes for toothpicks or party skewers. Then cut square pieces of fabric or paper napkins with sides a bit smaller than the hull of your boats. Toothpicks and party skewers will make perfect masts.

Maritim8Maritim9

Fold your square diagonally and cut two holes at 0,5cm from the edge on one side. Push your mast through the holes from top to bottom and attach it with a drop of glue using the drilled hole. Make a further cut at the bottom of your fold and pull through a small piece of twine. Secure it with a knot outside the sail and glue a second know to the hull. Finally push together your sail on the side of your mast making it look like billowing in the wind.


Napkin rings

Maritim5

For making these napkin rings you’ll need about 85cm of twine. Wind it three times around the first three fingers of your hand and make a knot with both ends. Leave about 5-6cm on each side and make a further knot at the ends to avoid unravelling. Fix the twisted ring inside the seashell with a little spot of hot glue. When the glue has completely dried you can pull the napkins through it.

Maritim6

 If you don’t like the twine ends to be seen beneath your seashell just cut them off and glue the twine ring in the middle of your seashell.


Marine table setting

Maritim1

Just have a look and enjoy. Then probably go and look for your marine accessories stored in bags or boxes.

Maritim2Maritim3

If you want to make these little boats then start collecting driftwood or parts of broken branches. Furtheron you’ll need some paper napkins or fabric leftovers, toothpicks or party skewers and twine.

Maritim4

For these napkin rings you’ll need some bigger seashells, twine and hot glue. I intentionally chose two different napkins just to show the reciprocal effect of napkin and seashell color. Paper napkins will serve as well.
Further detailed pictures and instructions will follow.